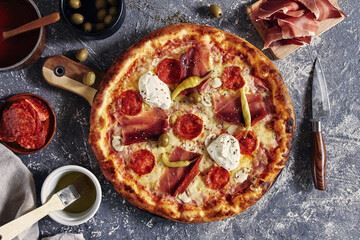
The Best Pizza Crusts Start With Heckers Ceresota Flour
Whether you're a casual or a professional baker, Heckers and Ceresota flours are the best flours to produce the best results for pizza crusts.
We're here to help you bake better. Take a look below at our frequently asked questions about pizza crusts and pizza dough tips.
buy flour
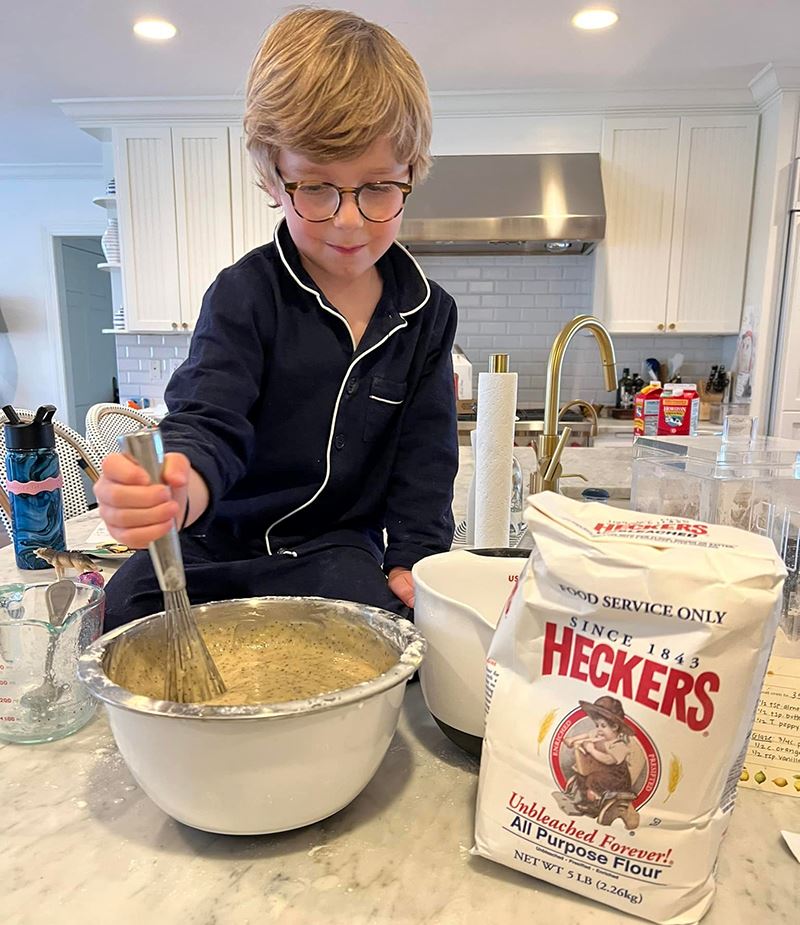
Tips for Home Pizza Bakers
“How do you keep the pizza dough from climbing on the hook during mixing?”
This is a very common problem for pizza dough, when using a “J” hook as opposed to a reverse spiral dough arm. The problem is at its worst when mixing a dough that does not completely fill the bowl which is a very common practice at most pizzerias. The only solution for "climbing" pizza dough is to buy an inverse spiral dough arm. Remember that all of the mixing attachments are specific to the make and model of the mixer, and the bowl capacity. With a reverse spiral dough arm, you can easily mix a dough as small as 25% of rated bowl capacity.
“Why does my pizza dough turn wet and ‘stringy’ after only a few days in the refrigerator?”
Most of the time this problem is related to excess fermentation. Excess fermentation can be caused by a dough that is mixed at too high a temperature (above 80F) or a dough that was placed in a covered container in the refrigerator for a cold fermentation period.
A better method is to lightly oil the dough ball(s) and then put them into the fermentation container but leave it uncovered for at least two hours. Leaving the dough uncovered will allow the dough to cool down more efficiently and at a more consistent rate which will better control the speed of fermentation.
“I can never get the bottom of my pizzas very crispy. Why?”
This is a common problem when baking in most homes. Pizza is baked from the bottom up, but home ovens have little or no provision for this. The best remedy is to bake your pizzas on a piece of thick (3/8 inch or thicker) steel or a pizza stone. Be sure to have the steel or stone in the oven as it is warming up and be sure to allow it to heat in the oven for at least an hour to make sure the steel/stone has absorbed as much heat as possible before placing your pizza on it for baking.
You can bake the pizza either on top of the steel/stone or, on a screen or a pan placed directly onto the stone/steel. Either method will provide the necessary bottom heat to achieve a crispy crust. Be sure to adjust the rack position of the steel/stone in your oven so as to balance the top heat, thus allowing the top of the pizza to finish at the same time as the bottom.
“When I make pan pizzas they are never light and tender tasting, but instead they are always tough and dense. Why?”
Pan Pizza is best made using a flour with a protein content around 12%. Regular Ceresota Unbleached All Purpose Flour is an excellent choice for pan pizza because it provides good fermentation tolerance for ease of dough handling while also providing sufficient strength to support the weight of toppings during the baking process.
This is an important aspect of flour for deep-dish/thick crust pizzas as once the dough is shaped or panned it must be allowed to proof/rise for 45-90 minutes (45-70 minutes is most typical) before the toppings, and the pizza goes into the oven for baking. The use of flour which is too strong for this application (such as Ceresota Premium High-Gluten Flour ~14% protein content) will result in a tougher, chewier crust than desired. The proofing/rising of the dough before dressing it is also vital to achieving a crispy yet light, and tender eating finished crust. Failure to allow the dough to proof/rise sufficiently results in a finished crust with a denser and tougher eating characteristic.
“For the life of me, I cannot turn my dough balls into a decent pizza crust without getting thick and thin spots in the dough, what am I doing wrong?”
Assuming that your dough is sufficiently soft and relaxed for ease of opening and doesn’t exhibit snap-back/memory characteristics, the solution is simple. Flour the dough ball and place it onto a lightly floured surface, using a rolling pin, roll the dough out to two inches or less in diameter than what you want the finished crust to be. Be careful not to allow the rolling pin to roll over the edge of the dough and be sure to keep rolling in different directions using only light to moderate pressure. Many passes are better than trying to roll the dough out in just a couple passes with the rolling pin. With the dough opened to within two inches of the desired diameter, now begin stretching the dough out to full diameter using your preferred method of hand shaping. You should find that the opened dough skin will have a much more uniform thickness resulting in a better quality finished crust.
“I have read all of these conflicting directions on how to mix a pizza dough, what is the best way to mix a pizza dough?”
There is no one best way to mix a pizza dough, but the one thing that all of the best practices should have in common is to ensure that the dough should be under mixed as opposed to over-mixed to full gluten development. Hand mixing/kneading is a safe way to mix pizza dough as it is essentially impossible to over mix the dough by hand, but it does have its drawbacks. Hand mixing is time-consuming and can be very tiring on your arms.
Machine mixing has the capability of fully developing the gluten, or over mixing the dough if not careful. To be safe, if using a machine to mix your dough, only mix until the dough takes on a smooth appearance. Mixing beyond this state is unnecessary and undesirable.
The preferred method lets the biochemical gluten development do the work for you. With this method, the dough is mixed just until it comes together as one cohesive ball. The dough is then lightly oiled and placed into a suitably sized container or bowl, that is also lightly oiled, and covered by loosely draping a piece of plastic wrap over the top of the bowl (no cling wrap or a snap top lid). The dough is then allowed to ferment at room temperature for 3-5 hours after which time it should be removed from the bowl and placed onto a lightly floured surface, and hand kneaded for not more than 30-seconds. The dough is then formed back into a ball shape and placed back into the fermentation bowl, and the top of the dough is lightly oiled and covered once again with a sheet of plastic. The dough should be left to ferment for another two hours. After fermenting, the dough should be cut into desired size/weight pieces and then lightly rounded into balls, and set aside on a floured sheet pan/baking sheet. The dough balls should then be draped with the same sheet of plastic that you used to cover the dough as it was fermenting, and allowed to rest/proof until the dough balls can be easily opened into skins for immediate use. If all of the dough balls will not be used immediately, lightly oil them and place them in food storage bags (NOT A ZIP LOCK TYPE BAG). Simply, twist the open end of the bag into a ponytail and tuck it under the dough ball as you place it into the refrigerator. The dough can be saved for up to two days in this manner. To use the refrigerated dough balls, remove from the refrigerator and allow them to warm at room temperature for 60-90 minutes and open into skins for immediate use.
What can I substitute for pizza flour?
A strong, bread-type flour with a protein content in the 12% range like Ceresota Unbleached All Purpose Flour is probably the closest thing to an all-purpose pizza flour. Ceresota Unbleached All Purpose Flour can be used to make just about any type of pizza and it is sufficiently strong to allow for three or more days of refrigerated storage.
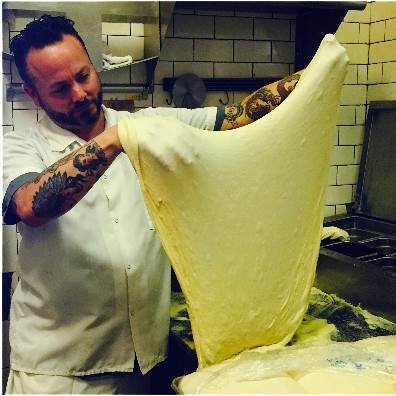
Tips for Pizza Chefs
“What is the best flour for making pizza dough?”
Flour like Ceresota Unbleached All Purpose Flour can be used to make just about any type of pizza and it is sufficiently strong to allow for three or more days of refrigerated storage.
Simply, there is no one best flour for making pizza. Different types of pizza may require different types of flour. For example, a New York Style pizza is best made using a very high protein flour like Ceresota Premium High-Gluten flour to achieve the characteristic chewy crust. However, most deep-dish type pizzas are best made using a comparatively lower protein flour to avoid the development of excessive toughness in the finished crust. If a pizzeria is making both thin crust and deep-dish pizzas this does not mean that they will need to inventory two different types of flour. Instead, a strong bread type flour with a protein content in the 12% range like Ceresota Unbleached All Purpose Flour is probably the closest thing to an all-purpose pizza flour.
"What is the best way to mix pizza dough?"
While there are many methods for mixing pizza dough, the most efficient method that produces the most consistent dough involves adding the water to the mixing bowl first followed by the salt and sugar (if used), then the flour followed by the yeast.
The dough is then mixed at low speed until it just begins to come together, and no dry flour is in the bottom of the bowl. Then the oil is added, and mixing is continued at low speed for an additional minute. At this point, the dough can be mixed on medium speed or continue mixing at low speed until a smooth appearing dough results. Mixing beyond this point is not necessary nor desirable.
“Does the water that I add to my pizza dough really make much of a difference in the quality of the finished crust?”
Despite what you might have heard about New York City water making the best New York City style pizza, this has been proven to be untrue. However, there can be differences in water chemistry that can impact both the dough and the finished crust quality characteristics. For example, in regards to hard and soft water, the hard water being higher in calcium content can exert a slight strengthening effect upon the dough while the soft water will contribute a softer, more extensible dough. Either one can be used to make great pizza dough, but if you have more than a single store, it would be best to determine if each location has similar water. For soft water, the solution is easy. The simple addition of 0.5% calcium sulfate to the dough as an added ingredient will negate any impact the soft water might have on your dough.
Another aspect of water that can impact your dough is pH/acidity. In many cases, municipalities attempt to return clean treated water back to a pH close to 7.0. However, the water can still have an elevated pH closer to 8.0 or higher than 7.0. This slightly alkaline water can impact the yeast by slowing it down resulting in slower or less fermentation within a given time than anticipated. To adjust for a slower or lower fermentation activity, any of the two following methods will be sufficient:
- The yeast can be increased to restore normal fermentation.
- An acid type yeast food (readily available from any baking ingredient supplier) can be added to the dough at 0.5% to buffer the alkalinity of the water and restore normal yeast fermentation.
“What is the cross stacking method of dough boxes, and why is it important?”
The process of cross-stacking the dough boxes in the cooler is the act of placing each box perpendicular to the box above and below it which creates two open ends on each box allowing warm air to escape. This method provides a faster and more consistent cooling of the dough and eliminates the problem of dough balls sweating in the dough boxes during the refrigerated holding period. As a part of the cross stacking process, we typically oil the top of each dough ball which prevents it from drying during the cross-stacked period.
“Why does my dough shrink/snap-back after I open it to its full diameter?”
Dough snap-back, also known as dough memory, can result from any number of things but most common are the use of flour that is too strong (try using a lower protein content flour) or a lack of dough fermentation. Fermentation weakens the gluten causing it to become more extensible with less of the elastic properties resulting in excessive dough memory or snap-back.
The solution is simply to allow the dough to ferment for a longer period before opening the dough into pizza skins. Other ways to address this problem include increasing the finished/mixed dough temperature (increase the water temp. at mixing) which will help to speed up the rate of fermentation, so the dough will receive more actual fermentation within any given period. Slightly increasing the yeast level is also an effective measure as is just allowing the dough to temper at room temperature for a longer time after removing it from the cooler before opening it into pizza skins.
“Why isn’t my crust crispy even though I make my skins as thins as possible?”
The problem might lie in your attempts to make the skin super thin. What frequently happens is that the very thin dough allows heat to pass right through it where it dissipates into steam by the moisture released from the sauce and toppings. Instead, try making your dough progressively thicker (increasing the scaling weight of your dough balls) until you see that the finished crust is coming out of the oven more crispy.
Another problem with a very thin dough skin is that the very thin resulting crust will readily absorb moisture from the top of the pizza causing it to go from crispy when it comes out of the oven to soft and soggy by the time it is delivered to your customer’s table.
“What can we do to help our pizzas stay crispy during delivery and carry out?”
There are a few things that you can do to enhance the pizza further during its trip to the consumer’s home. The first thing is the pizza box, a heavyweight corrugated cardboard box helps to insulate the pizza, keeping it warm and preventing moisture from the pizza from condensing on the inside of the box. The boxes should be made with steam vents, and the box should remain open when first placing the pizza into the box allowing the pizza to steam off for a few seconds after baking.
To help retain some resemblance of crispiness to the bottom of the pizza be sure to use one of the several different box liners. Some liners are made from a heavyweight embossed paper material, cardboard or plastic mesh material. All of these are placed under the pizza in the box and function by holding the pizza up from the bottom of the box, or pizza circle, allowing steam to escape from under the pizza making for a drier, less soggy pizza bottom.
“When making ‘take and bake’ pizza we have found that we need to significantly increase the sugar level to get the desired crust browning in the consumer’s home oven. The problem is that increasing the sugar level in the dough also imparts a significant sweetness to the finished crust. Is there a way to get the crust browning that we want without getting the sweet taste at the same time?”
The sucrose you are adding into the dough is inverted into simple sugars by an enzyme contained in the yeast (invertase). This enzyme allows the sucrose to provide crust color during baking, but as you have discovered, sucrose is also a very sweet sugar, so it provides a level of sweetness to the finished crust if there is any residual not metabolized by the yeast. The solution is to use a reducing sugar which will contribute to crust color but which has a very low sweetness value and is not metabolized by the yeast.
Fortunately, there is a sugar called lactose (AKA milk sugar). The cheapest source for lactose is sweet dairy whey which is approximately 73% lactose. You can begin adding whey at 5% of the flour weight and adjust from there to achieve the desired crust color. One unique characteristic of whey is that it will require little if any adjustment to the dough absorption when used, and because lactose is the least sweet of all sugars, it will have no impact upon the sweetness of the finished crust. Coincidentally, whey is a by-product of mozzarella cheese manufacturing.
“How do you keep the dough from climbing on the hook during mixing?”
This is a very common problem when using a “J” hook as opposed to a reverse spiral dough arm. The problem is at its worst when mixing a dough that does not completely fill the bowl which is a very common practice at most pizzerias. The only real solution is to invest in an inverse spiral dough arm. Remember that all of the mixing attachments are specific to the make and model of the mixer as well as the bowl capacity. With a reverse spiral dough arm, you can easily mix a dough as small as 25% of rated bowl capacity.
What makes a great pizza crust?
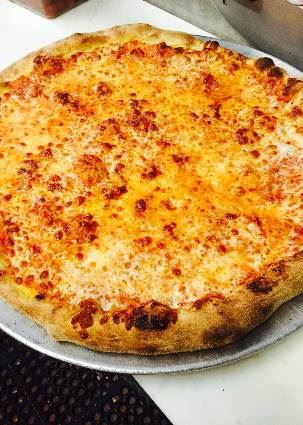
Paper thin, but crispy
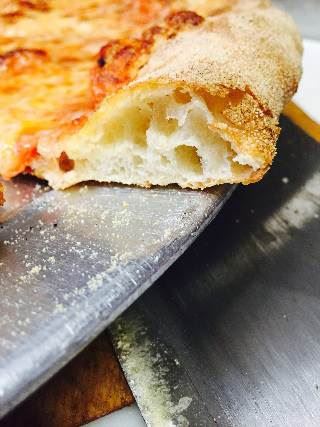
Light and chewy crust

Can fold without tearing